A what-if scenario
A few years ago I became aware of the existence of the Apple Pro Workflow teams. These teams exist inside Apple to provide feedback to the owners of various professional-geared hardware and software teams inside the company. This can be everything from advising the Mac Pro team what kind of expansion a pro workstation might need all the way to feedback to the Logic Pro and Final Cut teams on ways the make the software fit better into conventional creative workflows.
I think the idea is really clever and wish more companies did something like this. It would be amazing, for instance, if I worked on accounting software if we had a few accountants in-house attempting to just use our software to solve problems. Shortening the feedback loop and relying less on customers reporting problems and concerns is a great way of demonstrating to people you take their time seriously. However it did get me thinking: what would a Developer Pro Workflow team ask for?
The History of the MacBook Pro and me
I've owned MacBook Pros since they launched, with the exception of the disastrous TouchBar Mac with the keyboard that didn't work. While I use Linux every day for my work, I prefer to have macOS as a "base operating system". There are a lot of reasons for that, but I think you can break them down into a few big advantages to me:
- The operating system is very polished. "Well wait, maybe you haven't tried Elementary/Manjaro/etc." I have and they're great for mostly volunteer efforts, but it's very hard to beat the overall sense of quality and "pieces fitting together" that comes with macOS. This is an OS maintained by , I suspect, a large team in terms of software development team sizes. Improvements and optimizations are pretty common and there is a robust community around security. It doesn't just work but for the most part it does keep ticking along.
- The hardware is able to be fixed around the world. One thing that bothered me about my switch to Linux: how do I deal with repairs and replacements. PCs change models all the time and, assuming I had a functional warranty, how long could I go without a computer? I earn my living on this machine, I can't wait six weeks for a charger or spend a lot of time fighting with some repair shop on what needs to be done to fix my computer. Worst case I can order the exact same model I have now from Apple, which is huge.
- The third-party ecosystem is robust, healthy and frankly time-tested. If I need to join a Zoom call, I don't want to think about whether Zoom is going to work. If someone calls me on Slack, I don't want to deal with quitting and opening it four times to get sound AND video to work. When I need to use third-party commercial software its often non-optional (a customer requires that I use it) and I don't have a ton of time to debug it. With the Mac, commercial apps are just higher quality than Linux. They get a lot more attention internally from companies and they just have a much higher success rate of working.
Suggestions from my fake Workflow team
Now that we've established why I like the platform, what could be done to improve it for developers? How could we take this good starting point and further refine it. These suggestions are not ranked.
- An official way to run Linux
Microsoft changed the conversation in developer circles with Windows Subsystem for Linux. Suddenly Windows machines, previously considered inferior for developing applications for Linux, mostly had that limitation removed. The combination of that and the rise of containerization has really reduced the appeal of Macs for developers, as frankly you just don't use the base OS UNIX tooling as much as you used to.
If Apple wants to be serious about winning back developer mindshare, they wouldn't need to make their own distro. I think something like Canonical Multipass would work great, still giving us a machine that resembles the cloud computers we're likely going to be deploying to. Making them more of a first-class citizen inside the Apple software stack like Microsoft would be a big win.
Well why would Apple do this if there are already third-party tools? Part of it is marketing, Apple just can tell a lot more users about something like this. Part of it is that it signals a seriousness about the effort and a commitment on their part to keep it working. I would be hesitant to rely heavily on third-party tooling around the Apple hyperkit VM system just because I know at any point without warning Apple could release new hardware that doesn't work with my workflow. If Apple took the tool in-house there would be at least some assurances that it would continue to work.
- Podman for the Mac
Docker Desktop is no longer a product you should be using. With the changes to their licensing, Docker has decided to take a much more aggressive approach to monetization. It's their choice, obviously, but to me it invalidates using Docker Desktop for even medium sized companies. The license terms of: fewer than 250 employees AND less than $10 million in annual revenue means I can accidentally violate the license by having a really good year, or merging with someone. I don't need that stress in my life and would never accept that kind of aggressive license in business-critical software unless there was absolutely no choice.
Apple could do a lot to help with me by assisting with the porting of podman to the Mac. Container-based workflows aren't going anywhere and if Apple installed podman as part of the "Container Developer Tools" command, it would not only remove a lot of concerns from users about Docker licensing, but also would just be very nice. Again this is solvable by users using a Linux VM but its a clunky solution and nothing something I think of as very Apple-like. If there is a team sitting around thinking about the button placement in Final Cut Pro, making my life easier when running podman run for the 12th time would be nice as well.
- Xcode is the worst IDE I've ever used and needs a total rewrite
I don't know how to put this better. I'm sure the Xcode team is full of nice people and I bet they work hard. It's the worst IDE I've ever used. Every single thing in Xcode is too slow. I'm talking storyboards, suggestions, every single thing drags. A new single view app, just starting from scratch, takes multiple minutes to generate.
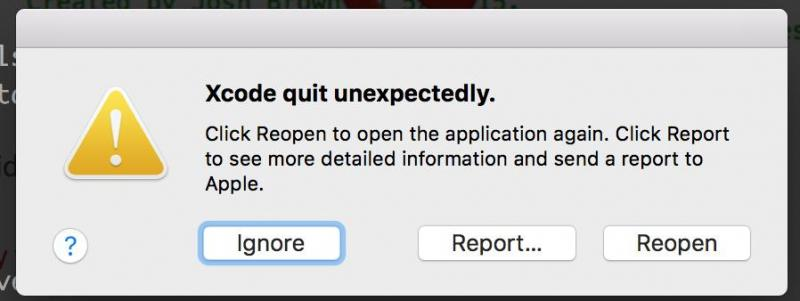
Basic shit in Xcode doesn't work. Interface Builder is useless, autocomplete is random in terms of how well or poorly it will do that second, even git commands don't work all the time for me inside Xcode. I've never experienced anything like it with free IDEs, so the idea that Apple ships this software for actual people to use is shocking to me.
If you are a software developer who has never tried to make a basic app in Xcode and are curious what people are talking about, give it a try. I knew mobile development was bad, but spending a week working inside Xcode after years of PyCharm and Vim/Tmux, I got shivers imagining if I paid my mortage with this horrible tool. Every 40 GB update you must just sweat bullets, worried that this will be the one that stops letting you update your apps.
I also cannot imagine that people inside Apple use this crap. Surely there's some sort of special Xcode build that's better or something, right? I would bet money a lot of internal teams at Apple are using AppCode to do their jobs, leaving Xcode hidden away. But I digress: Xcode is terrible and needs a total rewrite or just call JetBrains and ask how much they would charge to license every single Apple Developer account with AppCode, then move on with your life. Release a smaller standalone utility just for pushing apps to the App Store and move on.
It is embarrassing that Apple asks people to use this thing. It's hostile to developers and it's been too many years and too many billions of dollars made off the back of App developers at this point. Android Studio started out bad and has gotten ok. In that time period Xcode started pretty bad and remains pretty bad. Either fix it or give up on it.
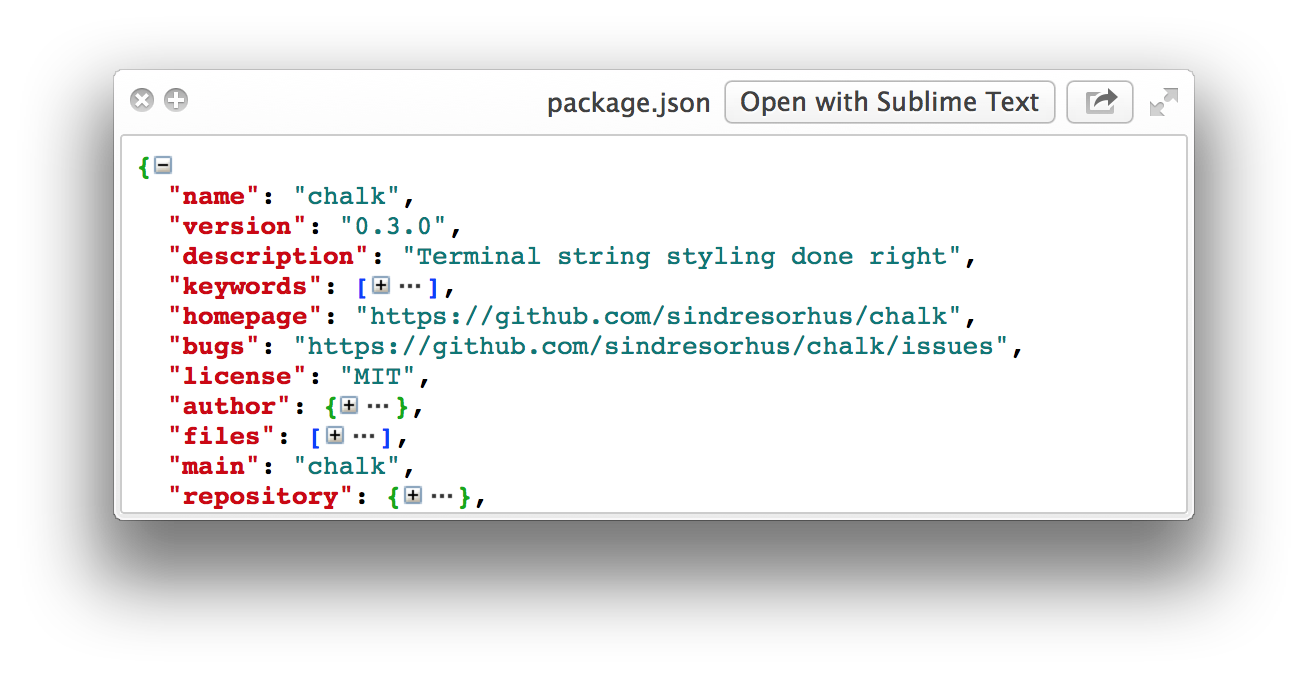
- Make QuickLook aware of the existence of code
QuickLook, the Mac functionality where you click on a file and hit spacebar to get a quick look at it is a great tool. You can quickly go through a ton of files and take a quick glance at all of them, or at least creative professionals can. I want to as well. There's no reason macOS can't understand what yaml is, or how to show me JSON in a non-terrible way. There are third party tools that do this but I don't see this as something Apple couldn't bring in-house. It's a relatively low commitment and would be just another nice daily improvement to my workflow.
- An Apple package manager
I like Homebrew and I have nothing but deep respect for the folks who maintain it. But it's gone on too long now. The Mac App Store is a failure, the best apps don't live there and the restrictions and sandboxing along with Apple's cut means nobody is rushing to get listed there. Not all ideas work and its time to give up on that one.
Instead just give us an actual package manager. It doesn't need to be insanely complicated, heck we can make it similar to how Apple managed their official podcast feed for years with a very hands-off approach. Submit your package along with a URL and Apple will allow users a simple CLI to install it along with declared dependencies. We don't need to start from scratch on this, you can take the great work from homebrew and add some additional validation/hosting.
How great would it be if I could write a "setup script" for new developers when I hand them a MacBook Pro that went out and got everything they needed, official Apple apps, third-party stuff, etc? You wouldn't need some giant complicated MDM solution or an internal software portal and you would be able to add some structure and vetting to the whole thing.
Just being able to share a "new laptop setup" bash script with the internet would be huge. We live in a world where more and more corporations don't take backups of work laptops and they use tooling to block employees from maintaining things like Time Machine backups. While it would be optimal to restore my new laptop from my old laptop, sometimes it isn't possible. Or maybe you just want to get rid of the crap built up over years of downloading stuff, opening it once and never touching it again.
To me this is a no-brainer, taking the amazing work from the homebrew folks, bringing them in-house and adding some real financial resources to it, with the goal of making a robust CLI-based package installation process for the Mac. Right now Homebrew developers actively have to work around Apple's restrictions to get their tool to work, a tool tons of people rely on every day. That's just not acceptable. Pay the homebrew maintainers a salary, give it a new Apple name and roll it out at WWDC. Everybody will love you and you can count the downloads as "Mac App Store" downloads during investor calls.
- A git-aware text editor
I love BBedit so much I bought a sweatshirt for it and a pin I proudly display on my backpack. That's a lot of passion for a text editor, but BBedit might be the best software in the world. I know, you are actively getting upset with me as you read that, but hear me out. It just works, it never loses files and it saves you so much time. Search and replace functionality in BBedit has, multiple times, gotten me out of serious jams.
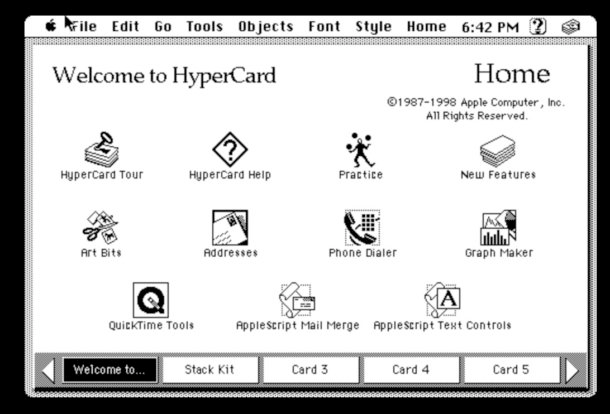
But for your average developer who isn't completely in love with BBedit, there are still huge advantages to Apple shipping even a much more stripped down text editor that Markdown and Git-functionality. While you likely have your primary work editor, be it vim for me or vscode for you, there are times when you need to make slight tweaks to a file or you just aren't working on something that needs the full setup. A stripped version of BBedit or something similar that would allow folks to write quick docs, small shell scripts or other tasks that you do a thousand times a year would be great.
A great example of this is Code for Elementary OS:

This doesn't have to be the greatest text editor ever made, but it would be a huge step forward for the developer community to have something that works out of the box. Plus formats like Markdown are becoming more common in non-technical environments.
Why would Apple do this if third-party apps exist?
For the same reason they make iPhoto even though photo editors exist. Your new laptop from Apple should be functional out of the box for a wide range of tasks and adding a text editor that can work on files that lots of Apple professional users interact with on a daily basis underscores how seriously Apple takes that market. Plus maybe it'll form the core of a new Xcode lite, codenamed Xcode functional.
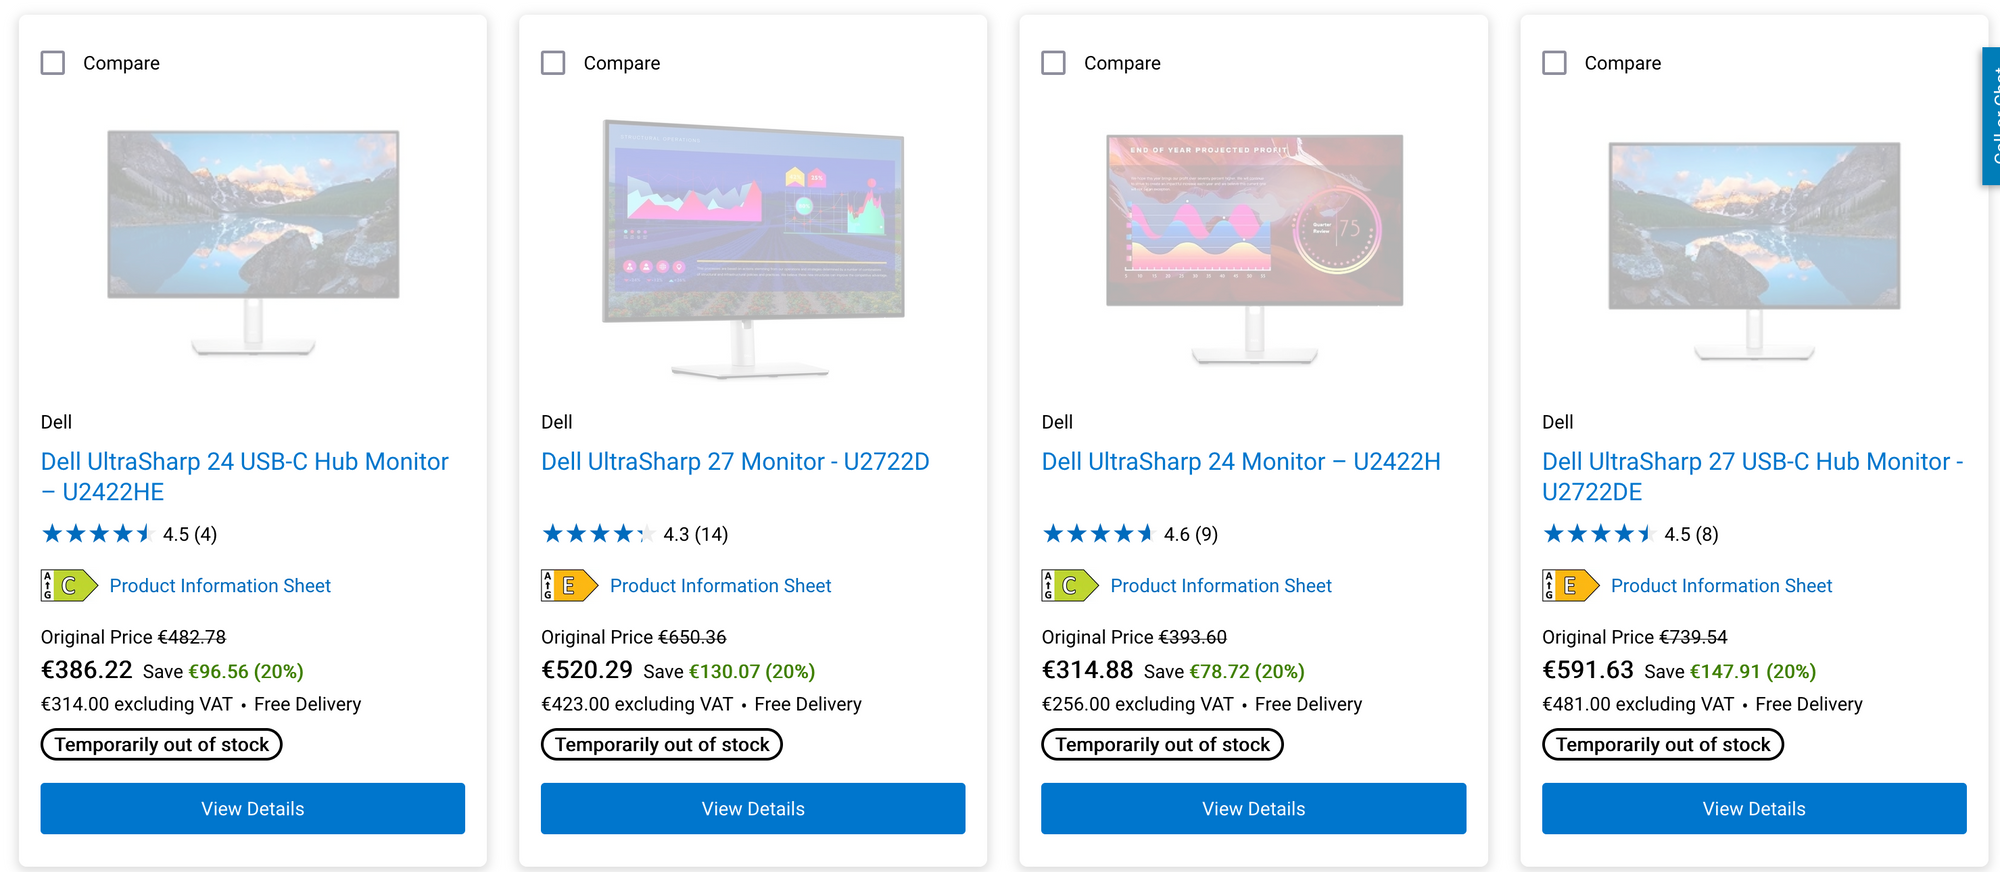
- An Apple monitor designed for text
This is a bit more of a reach, I know that. But Apple could really use a less-expensive entry into the market and in the same way the Pro Display XDR is designed for the top-end of the video editing community, I would love something like that but designed more for viewing text. It wouldn't have nearly the same level of complexity but it would be nice to be able to get a "full end to end" developer solution from Apple again.
IPS panels would be great for this, as the color accuracy and great viewing angels would be ideal for development but you won't care about them being limited to 60hz. A 27 inch panel is totally sufficient and I'd love to be able to order them at the same time as my laptop for a new developer. There are lots of third-party alternatives but frankly dealing with the endless word soup that is monitors these days is difficult to even begin to track. I love my Dell UltraSharp U2515H but I don't even know how long I can keep buying them or how to find the successor to it when it gets decommissioned.
What did I miss?
What would you add to the MacBook Pro to make it a better developer machine? Let me know at @duggan_mathew on twitter.


